
ひょんなことから知ったのですが、Windows10には「GodMode」という設定へすぐにアクセスできる便利な機能があります。
Windows10で設定を変更する場合、「コントロールパネル」にすぐにアクセスする方法としてWindows+Xキーでショーカットする方法がありますが、今回ご紹介する「GodMode」ならさらに短いアクションで一覧に行けます。

というわけで、今回はWindows10の「GodMode」をご紹介いたします。
「GodMode」を作る
まずはデスクトップ上でマウスの右クリックから、新しくフォルダを作ります。
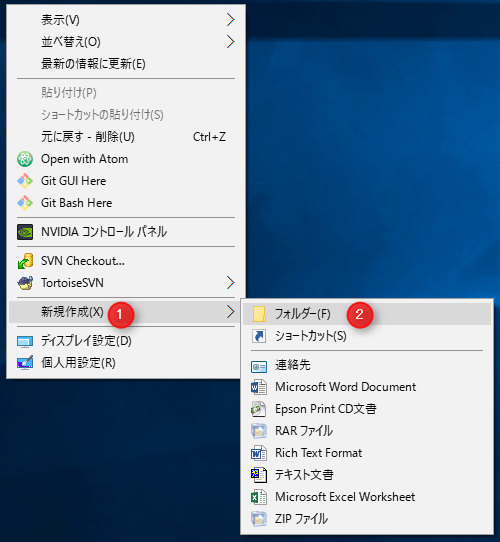
メニューから「フォルダー」を選択をすると、「新しいフォルダー」が作成されます。

「新しいフォルダー」でF2キーを押して、「GodMode.{ED7BA470-8E54-465E-825C-99712043E01C}」とフォルダに入力します。
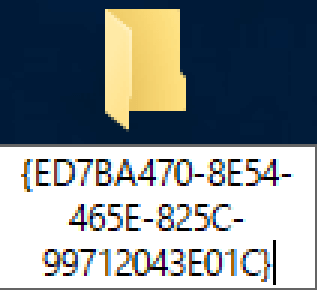
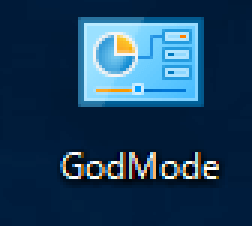
するとアイコンが変化し、名称が「GodMode」になります。
「GodMode」で各種設定を見る
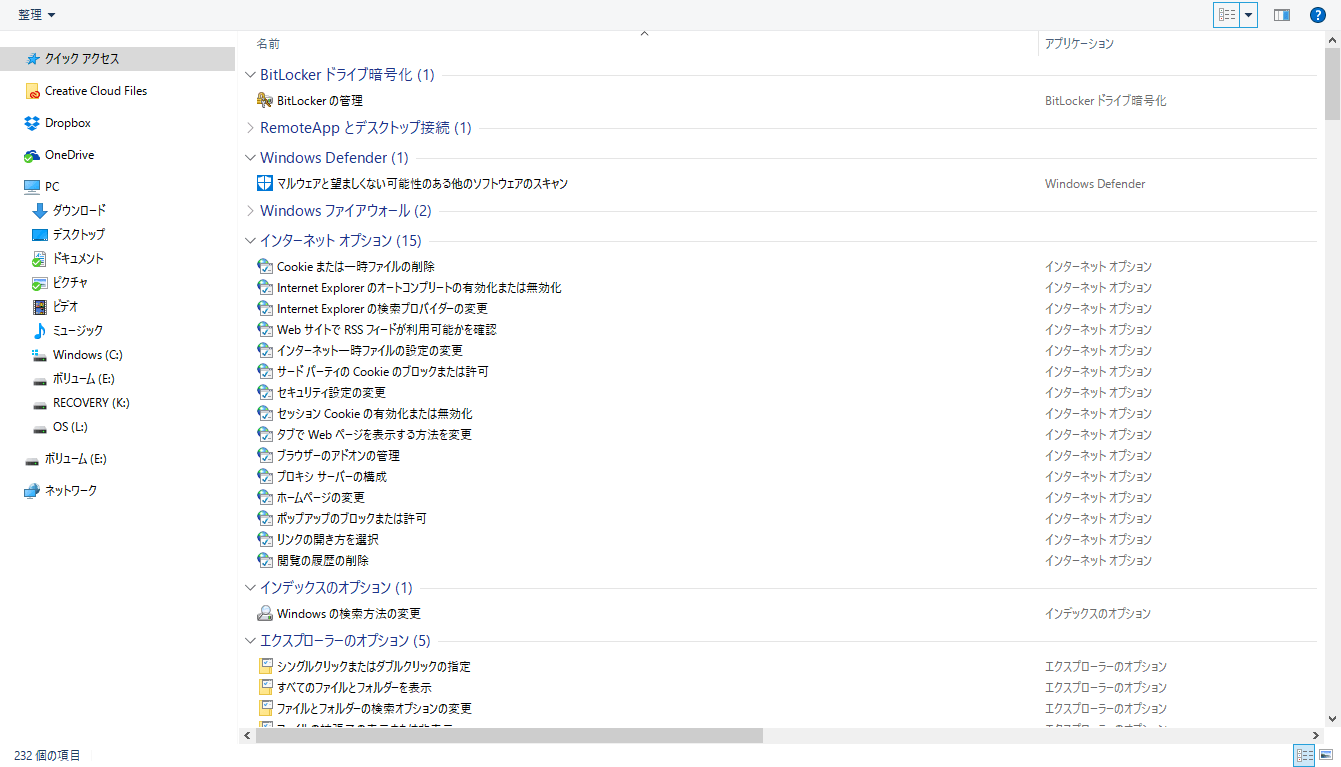
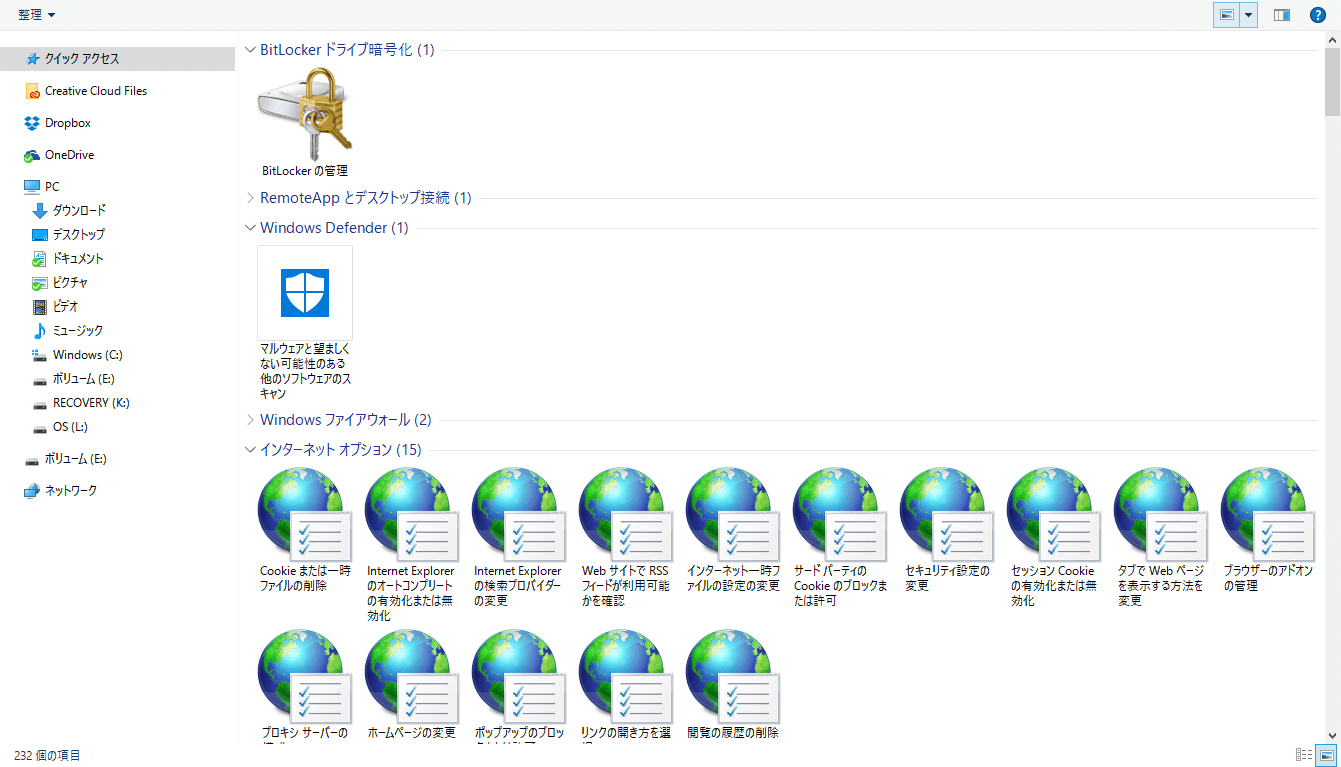
「GodMode」をクリックすると、各種設定が一覧で表示されます。
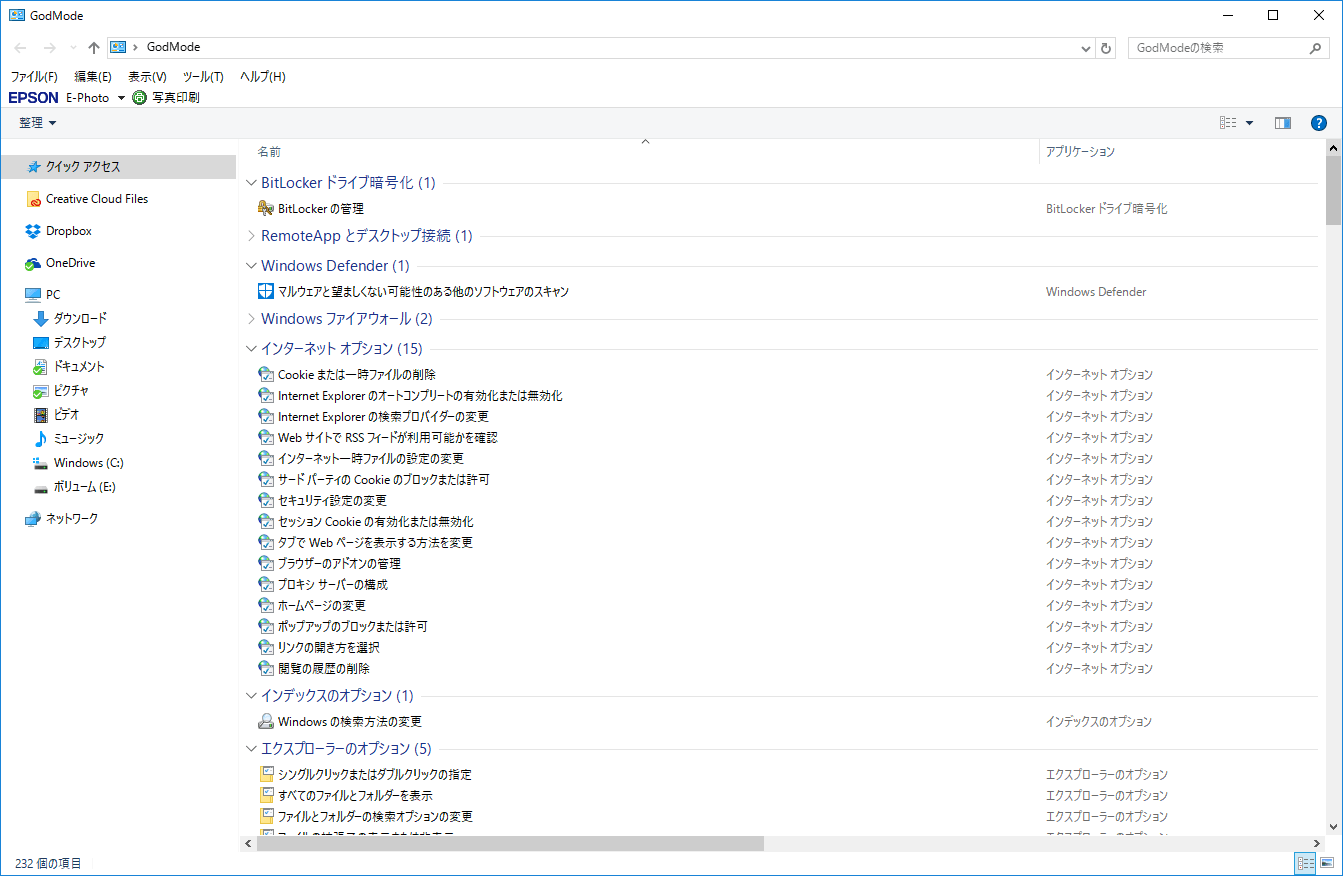
一覧をスクロールすると設定項目が確認できます。
画像を選択すると動画が表示されます。
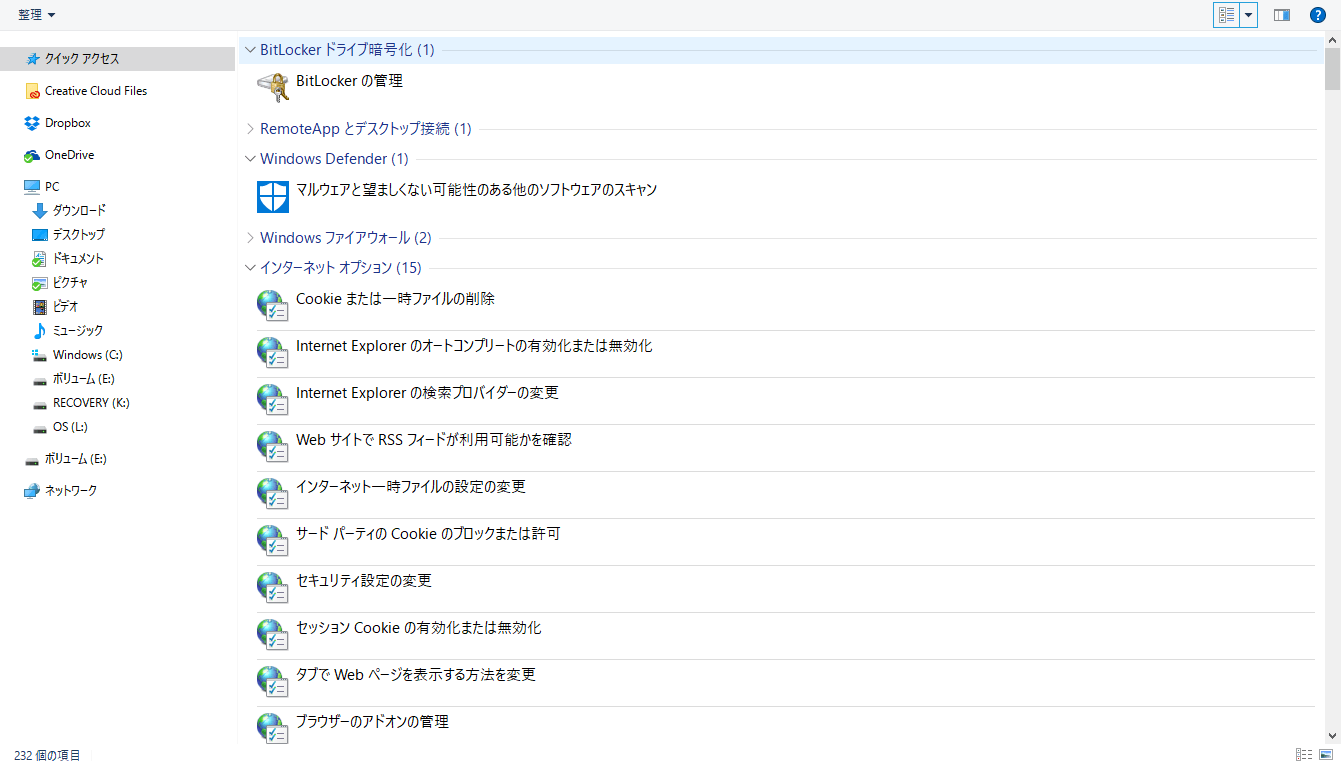
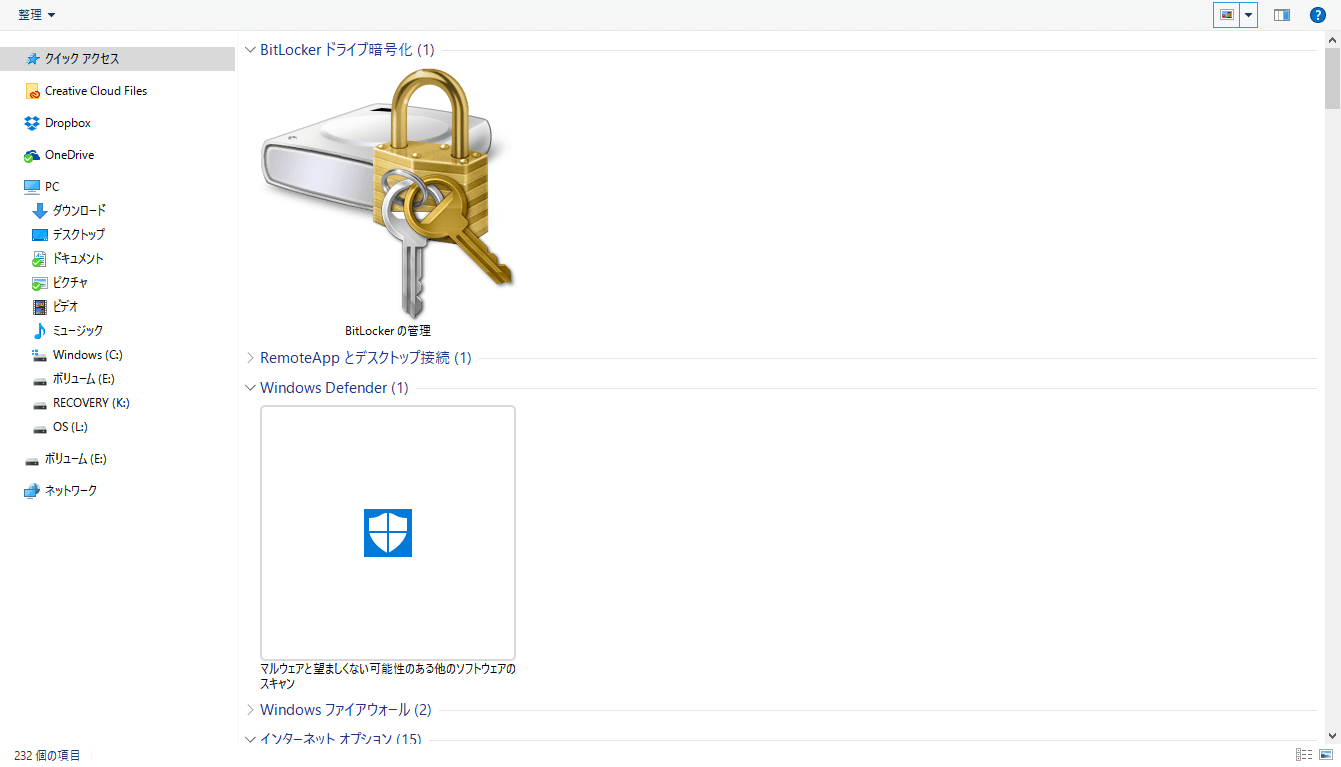
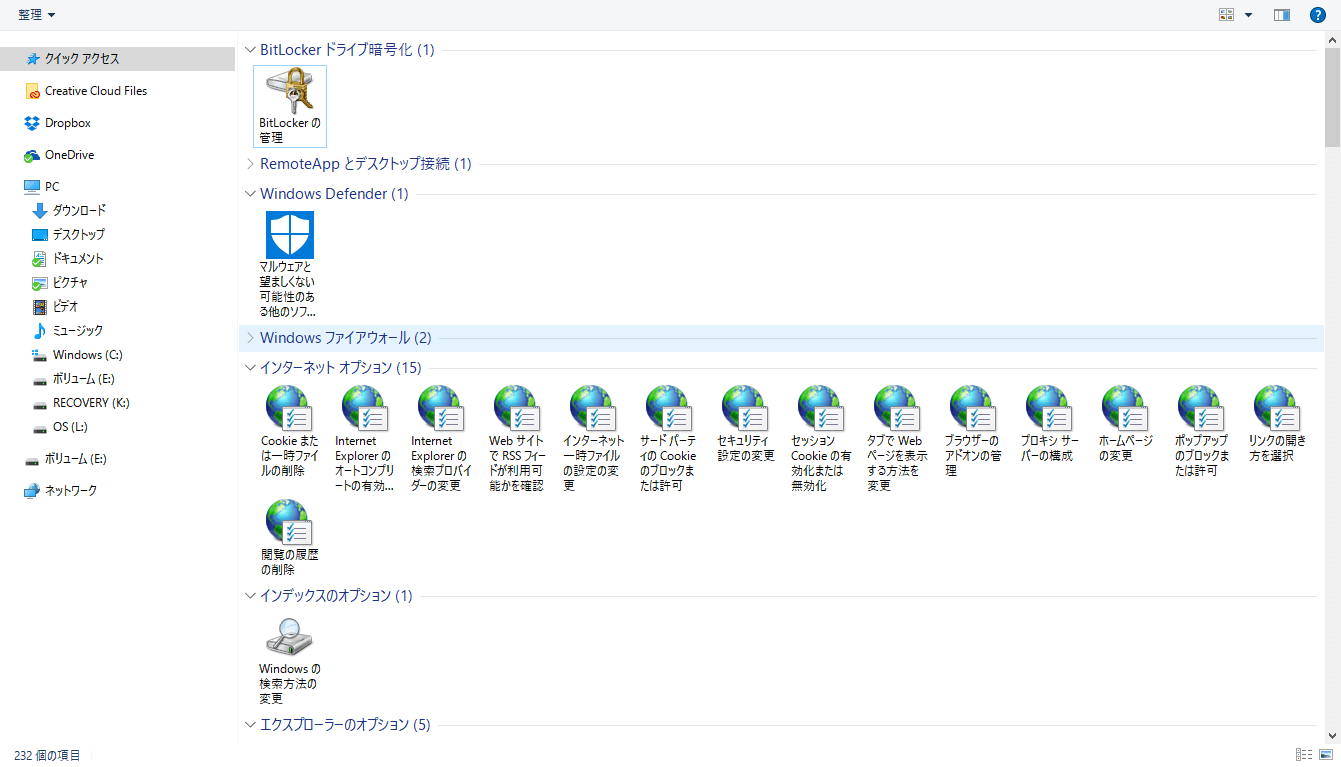
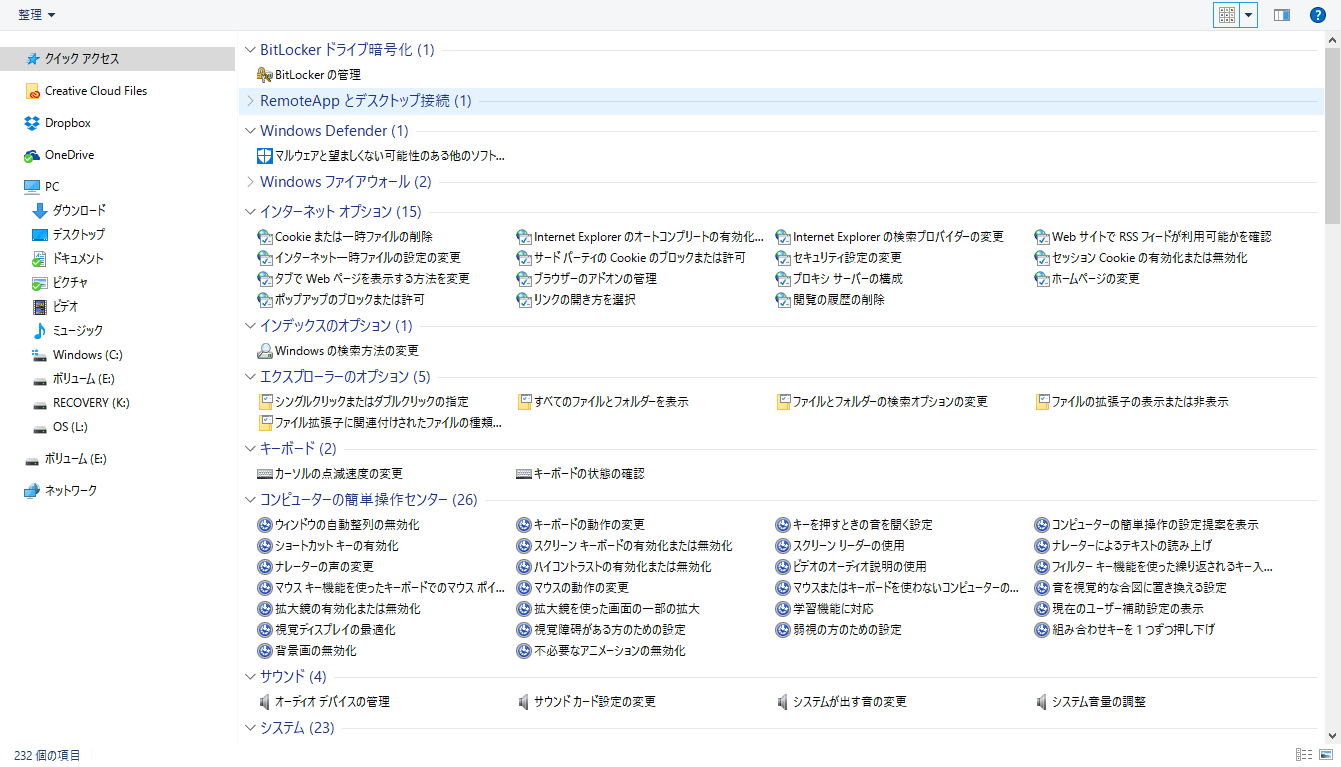
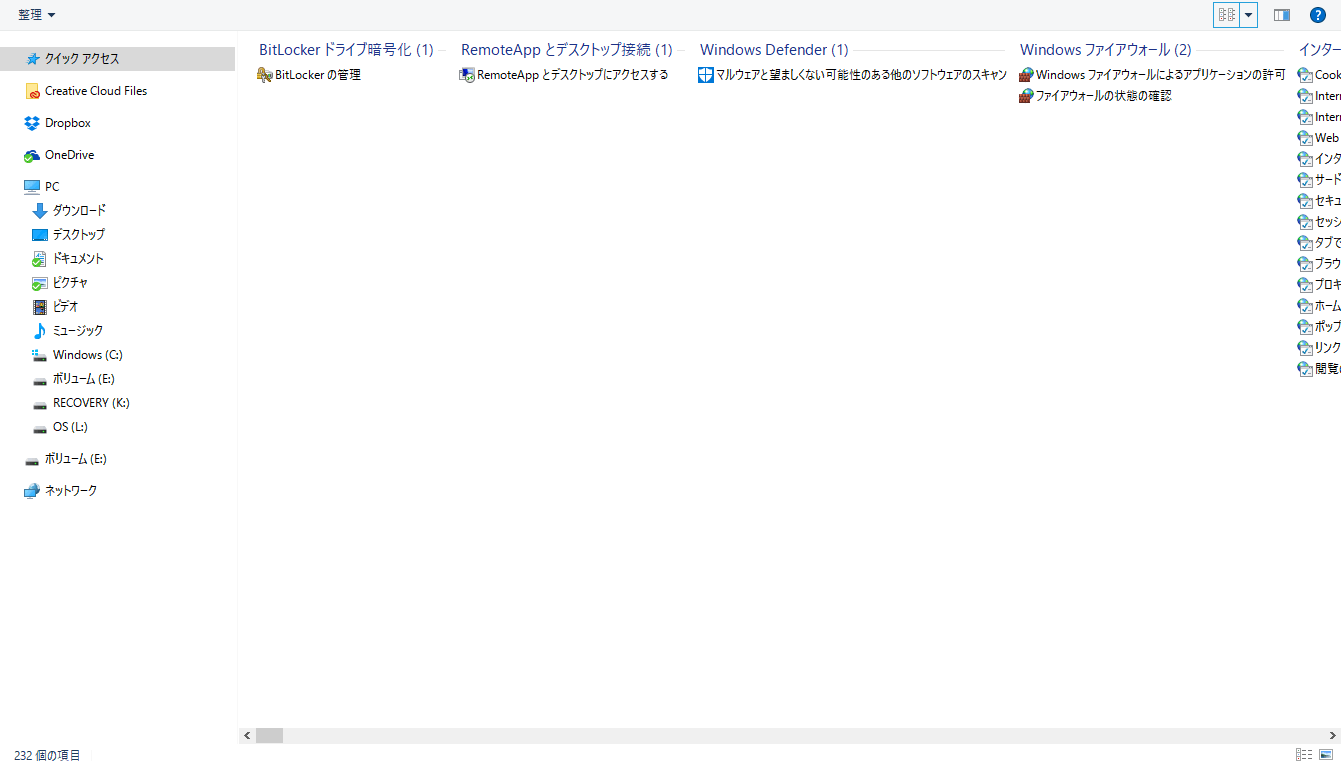
表示方法を変える
ウィンドウの右上にあるアイコンから表示方法を変更することができます。


まとめ
- デスクトップに「新しいフォルダー」を作る。
- 「GodMode.{ED7BA470-8E54-465E-825C-99712043E01C}」とフォルダに入力する。
- 「GodMode」アイコンをクリックする。
Windows10は内容によっては左下にあるWindowsアイコンから行く「設定」と、「コントロールパネル」に設定が分かれている場合があるので、「GodMode」はまさに神の視点で一覧を見る神モードと言えます。
億劫になりがちなWindows10の設定変更を、「GodMode」でサッと変更してしまいましょう。


コメント